Thinking about listing your Sherwood Forest home and want every photo to stop buyers mid-scroll? You’re right to focus on staging. In this neighborhood, mature trees, classic architecture, and upscale finishes set a high bar. With the right merchandising, lighting, and small updates, you can create a polished, camera-ready presentation that sells a lifestyle and invites strong offers. Let’s dive in.
Sherwood Forest staging essentials
Sherwood Forest buyers expect turnkey condition, quiet elegance, and spaces that feel intentional. Staging here should highlight indoor and outdoor flow, showcase natural light, and point to a low-maintenance lifestyle. Keep the palette neutral with texture, and use quality materials like linen, leather, and wood.
Before you begin, verify HOA or architectural guidelines for any exterior changes. If you’re relocating or aiming for a hands-off sale, plan for organized storage, flexible showing access, and a clear staging timeline so your home holds its look through photography and showings.
Room-by-room staging roadmap
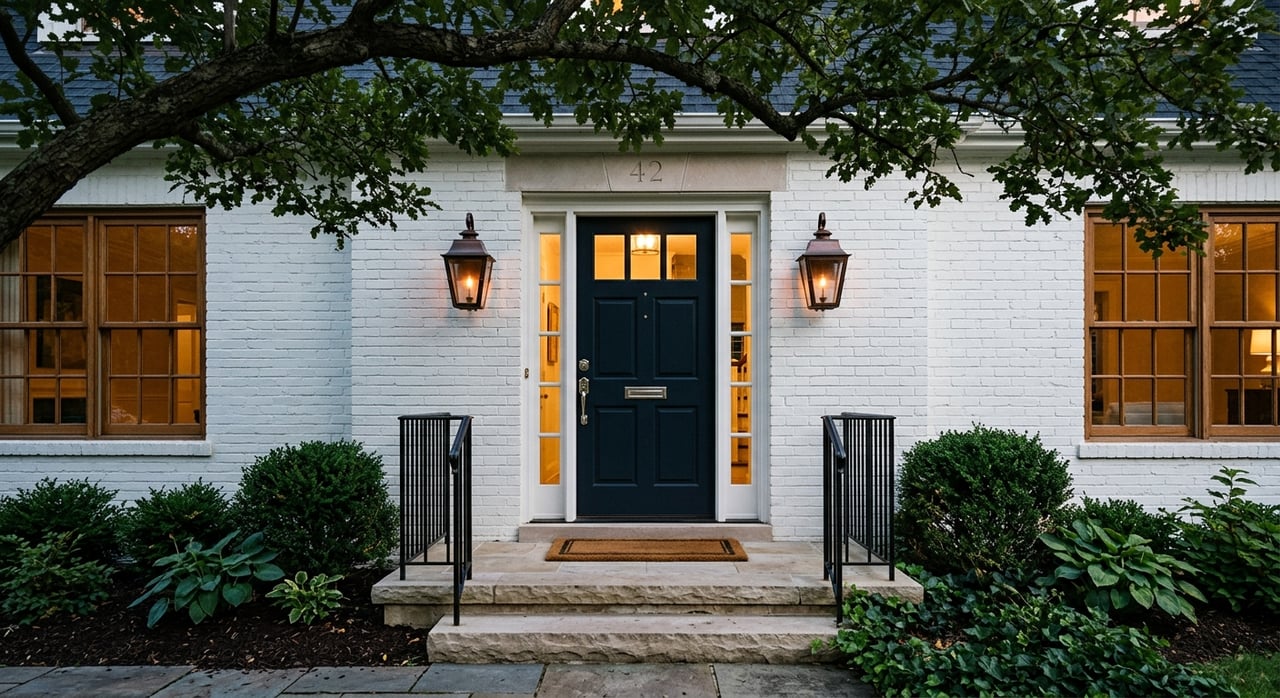
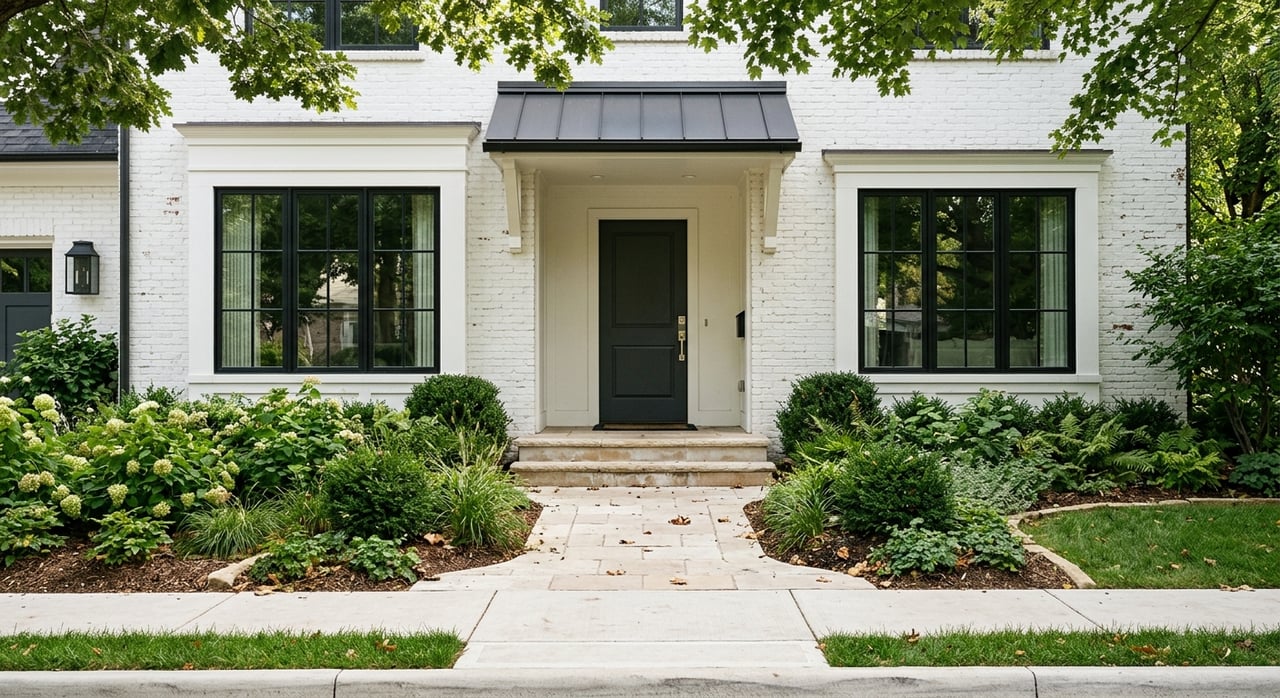
Exterior and curb appeal
- Merchandising: Power-wash drive and walkways. Trim shrubs, edge the lawn, refresh mulch, and remove dead plants. Repaint the front door if worn and update hardware if dated.
- Lighting: Check porch fixtures and add tasteful landscape uplighting to enhance twilight photos.
- Small updates: Replace old house numbers, polish the mailbox, and clear gutters.
- Photo prep: Schedule golden-hour and twilight shots with interior lights on for warmth.
Entry and foyer
- Merchandising: Keep sightlines open to the main living areas. Use one console with a mirror or art, and a clean runner or rug to anchor the space.
- Lighting: Bright, warm overhead; add a table lamp if the entry needs depth.
- Photo prep: Keep shoes, coats, and packages out of view. Ensure the front door and threshold are spotless.
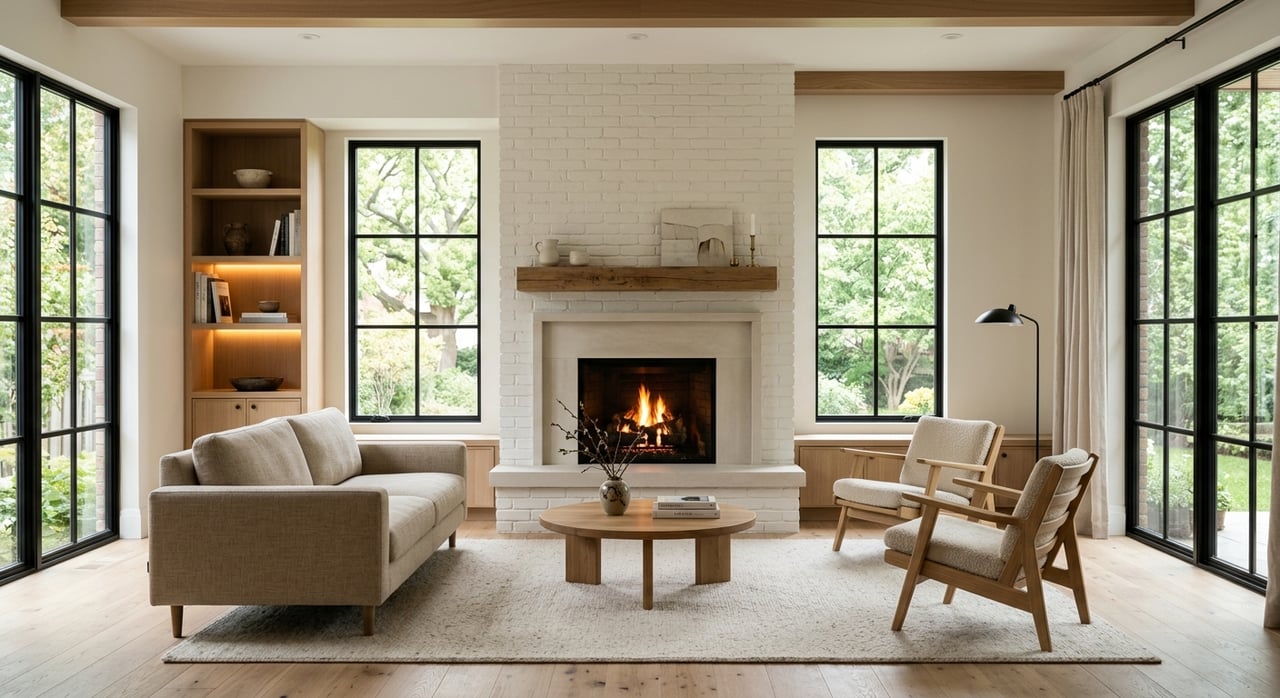
Living or great room
- Merchandising: Arrange a conversational seating group that frames the fireplace or view. Use a statement rug that grounds all primary seating if possible.
- Accessories: A single large art piece and a coffee table vignette with a book and one sculptural item keeps it sophisticated.
- Lighting: Layer natural light with floor and table lamps. Uplight mantel art if safe.
- Photo prep: Open curtains for soft daylight and turn on all interior lights to add depth.
Dining room
- Merchandising: Keep it restrained. A neutral runner and low-profile centerpiece make the room feel spacious.
- Lighting: Showcase the chandelier with warm, dimmable bulbs so it reads well in images.
- Photo prep: Clear buffets and align chairs to look crisp from every angle.
Kitchen
- Merchandising: Clear counters. Leave only one or two curated items like a bowl of lemons or a small plant. Remove refrigerator magnets and notes.
- Touch-ups: Re-caulk sink edges if needed and consider swapping dated cabinet hardware for a quick lift.
- Lighting: Turn on overhead and under-cabinet lighting with consistent color temperature.
- Photo prep: Style barstools evenly and shoot angles that show counter depth, premium surfaces, and flow to living spaces.
Primary bedroom
- Merchandising: Use high-end neutral bedding with a throw and 1–2 accent pillows. Add a bench or chair at the foot of the bed.
- Lighting: Soft bedside lamps create a calm mood. Keep the overhead off for photos unless it helps balance the scene.
- Photo prep: Close closets or ensure a tidy interior if they’re photographed.
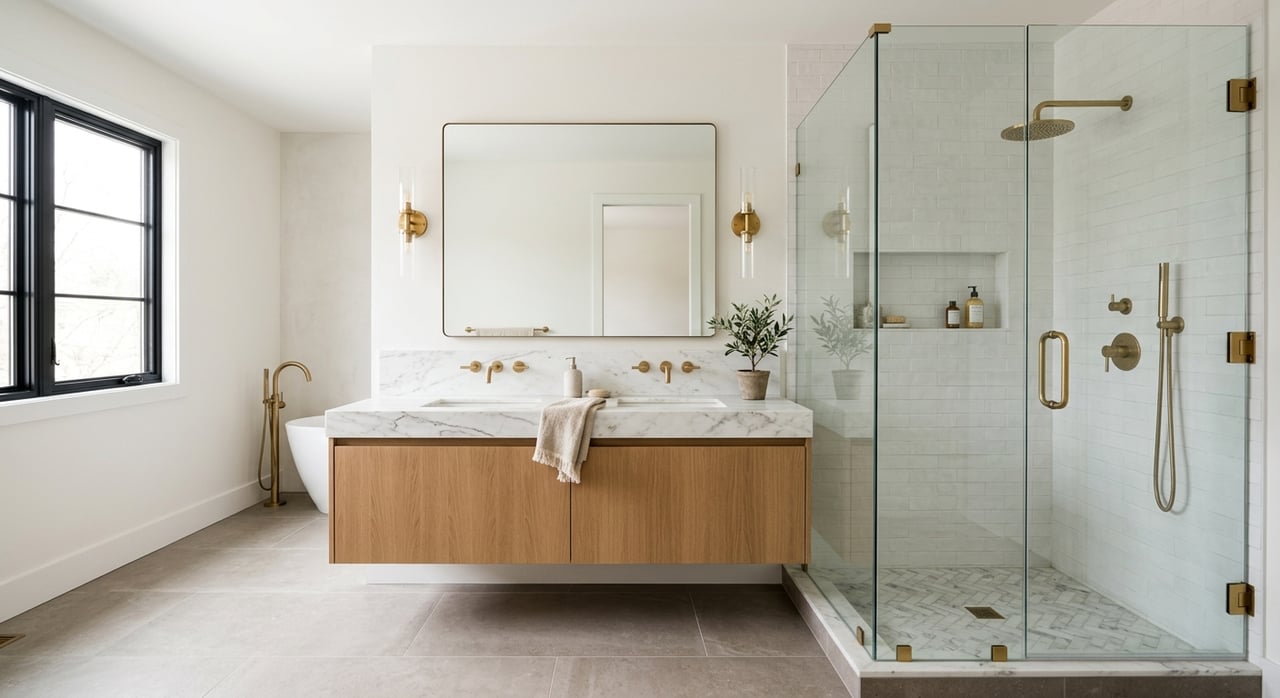
Bathrooms
- Merchandising: Clear counters, polish mirrors, and fold fresh towels. Use a simple tray for essentials.
- Small updates: Refresh grout and caulk if aging shows. Consider swapping dated faucets if practical.
- Lighting: Bright, even light helps finishes read true in photos.
- Photo prep: Remove all personal toiletries and keep glass and fixtures streak-free.
Home office and flex spaces
- Merchandising: Set a clear purpose. For an office, use a desk, chair, and minimal accessories. For a gym or media room, stage the core pieces so buyers understand the function.
- Lighting: Combine ambient light with a task lamp. Show windows to convey natural light.
Children’s and guest rooms
- Merchandising: Keep decor simple and tidy with neutral bedding. For guest rooms, aim for a boutique-hotel look and add a luggage bench if space allows.
- Photo prep: Remove personal posters and floor toys to maintain a calm, spacious feel.
Basement or media level
- Merchandising: Define zones for media, games, or a lounge. Use area rugs and a sectional to show scale.
- Lighting: Basements need extra light. Add multiple lamps to keep it bright and welcoming.
- Photo prep: Hide cords and remotes, and ensure surfaces are clutter-free.
Outdoor living
- Merchandising: Create vignettes for dining and lounging. Style a fire pit and present the grill area clean and ready.
- Pool care: Remove tools and toys. Keep surfaces dry and spotless for photos.
- Lighting: Use string lights or landscape lighting for warm twilight scenes.
- Photo prep: Capture flow shots from the interior to the patio or pool to show usable outdoor square footage.
Lighting that photographs beautifully
Consistent, warm-neural light helps rooms feel luxurious and balanced. Aim for bulbs in the 3000K to 3500K range throughout the home so whites look clean and wood tones stay rich. Turn on all interior and exterior fixtures during photography, including under-cabinet and landscape lighting. For twilight photos, plan for clear skies if possible and light every level of the home to create a welcoming glow.
Photo, video, and floor plan checklist
Hire a photographer experienced in luxury listings and provide a clear brief. Ask for high-resolution wide-angle images, a floor plan with dimensions, drone shots if allowed, twilight images, and a short highlight reel or guided tour. Make sure verticals are straight, white balance is accurate, and distortion is minimal.
Essential shots include front elevation, twilight exterior, foyer, living spaces from multiple angles, kitchen (wide and detail), dining, primary suite and bath, secondary rooms, office or flex space, outdoor living, and any unique features like wine storage, built-ins, or custom millwork. A 3D walkthrough can help remote buyers understand the flow.
Hands-off staging timeline
- 2 to 4 weeks out: Consultation and plan. Identify quick repairs and schedule contractors. Confirm any HOA or architectural approvals for exterior updates.
- 1 to 2 weeks out: Declutter, deep clean, and complete minor updates like paint touch-ups or hardware swaps.
- 48 to 72 hours before photos: Install staging furniture, art, and accessories. Finalize lighting and styling.
- Photo day: Refresh florals and greenery. Turn on all lights and do a room-by-room walkthrough with the photographer.
- During showings: Maintain the look or set a refresh cadence for linens and florals. Keep closets, pantry, and garage tidy if they will be viewed.
Budget and vendor selection
Luxury staging varies based on the home’s size, inventory needs, and rental duration. Expect line items for the consultation and plan, furniture and accessory rental, install and removal, minor cosmetic updates, and professional media. Obtain multiple bids from stagers with proven Atlanta luxury portfolios, ask for before and after images on comparable homes, and verify insurance and scheduling capacity.
Vendor types to consider include a luxury stager, a real estate photographer with drone and floor plan capability, painters and electricians for quick updates, a landscape crew, and a storage company for excess belongings. Choose partners who understand Sherwood Forest homes and Intown Atlanta buyer expectations.
Before-and-after proof that resonates
Staging supports faster showings and stronger first impressions, especially when paired with high-quality photography and video. To showcase impact, document before and after photos, track days on market, and note offer timelines for comparable properties. When possible, reference MLS data for prior sales in Sherwood Forest or nearby to keep your proof points credible and specific.
Seller’s quick checklist
- Approve the staging budget and calendar.
- Sign staging and photography agreements and set install and shoot dates.
- Remove personal items and store nonessential furniture.
- Approve minor updates like paint, hardware, and bulbs.
- Keep a storage contact handy and plan for flexible showing access.
- Maintain the staged condition or assign a caretaker for refreshes.
Compliance and presentation notes
If you plan virtual edits, disclose them per MLS rules. Confirm permits or HOA approvals for any permanent modifications. Keep invoices for staging and photography for your records. Use neutral, inclusive language throughout your listing and marketing to ensure broad appeal.
Work with a local expert
You deserve a hands-off plan that looks effortless in photos and flawless in person. From merchandising and lighting to drone photography and floor plans, a cohesive presentation can help maximize buyer interest and your net proceeds. To create a Sherwood Forest staging and media plan tailored to your home, connect with Ken Covers for a consultation.
FAQs
What makes Sherwood Forest staging different?
- Buyers expect classic, turnkey spaces with strong indoor and outdoor flow, so staging should emphasize proportion, texture, and lifestyle vignettes that fit mature-tree lots and upscale finishes.
How long does a full staging plan take?
- Plan on 2 to 4 weeks from consult to photography, including decluttering, minor updates, staging install, and final styling before the shoot.
Do I need to move out to stage my home?
- Not always; you can stage while occupied by removing excess furniture and personal items, but vacant homes often benefit from full furniture and accessory installs to show scale.
What lighting works best for listing photos?
- Use a warm-neutral color temperature between 3000K and 3500K across fixtures, and layer ambient, task, and accent lighting for depth and consistency.
How should I handle exterior updates with an HOA?
- Confirm guidelines before changing paint colors, fixtures, or landscaping details, and obtain approvals for any permanent modifications.
Is virtual staging a good option?
- It helps when physical staging is not possible, but disclose any virtual edits per MLS rules and prioritize real-world presentation for showings whenever you can.